

com-s.jpg "Going to the
Sun Road, Glacier")
com-s.jpg "Mount Rainier, From the Wonderland Trail")
com-s.jpg "The Rocks at Ryan Mountain, Joshua Tree")
com-s.jpg "Deer
at Mokowanis Lake, Glacier")


 |
| (Sometimes There is a Place, photo by Lance McCoy) |
I planned to do one post on nature photography, which listed tips from multiple photographers, but some of the tips I have been given deserve their own post. I've decided to make this a new series on the blog. From time to time, I'll post new tips from photographers who specialize in nature and wildlife. I may throw in my own two cents every now and then, but I'm still a student myself, so I'll defer to more experienced photographers whenever possible.
The first tip comes from a photographer whose photos I've enjoyed since I purchased my first SLR camera in 2009, Lance McCoy. And I have to say, his photos just keep getting better and better. Some of my favorites of his are his photographs of moving water. Lance has been gracious enough to give us his tips for taking these serenely beautiful photos.
First things first, get out and explore the forest to find the perfect setting. With the right light and a slow shutter speed, rivers, creeks, and waterfalls blur into tranquil images that seem to give motion to a motionless photograph.
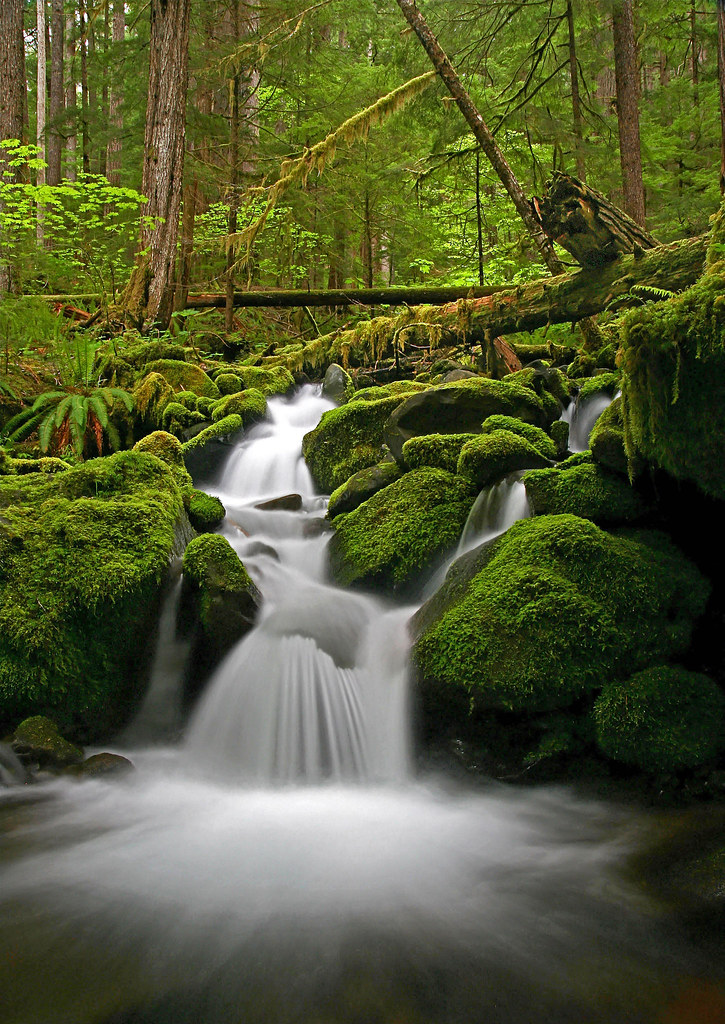 |
| (A Forest Retreat, photo by Lance McCoy) |
- "Cloudy, drizzle, showers, and rain make up the best shooting conditions for any kind of moving water compositions," says Lance. "Have terry cloth wipes and an umbrella available."
What a great reason to head out on a less than ideal hiking day! With the long shutter speed necessary for these shots, you don't want the scene to be too bright. If it is going to be a cloudless bright day, the next best option is to head out at sunrise or sunset, when the light is less bright.
- "Use a wide-angle lens," Lance says. "I use a Tamron 17-50 f/2.8 on a crop sensor camera, the Canon T2i. There are times when I wish I could shoot wider, but not many."
- "A tripod is a must," he says. This is due to the longer exposure time necessary.
- "Use a polarizer filter, without fail," he says. "It's a must!" A polarizer filter looks like a sunglasses lens for your camera. It will neutralize bright spots in a long exposure photo and reduce reflections from the water.
- "Set your camera and lens to manual mode," he says. If you're a beginner who is intimidated by full manual mode, you can start by shooting in Shutter Priority Mode (i.e. Tv), so the aperture setting will still be automatic. Although, as Lance says, eventually get used to shooting in manual mode for full control of your photos.
- "Use f/9 to f/20 for your long exposures," he says. The higher the number, the smaller the aperture where light enters the camera. When you're shooting long exposure pictures like these, you want to allow less light into the camera.
- "Your shutter speed will vary depending on the light available. Generally speaking, one second or slower is good," he says. Due to the slow shutter speed, use a remote shutter release or set your camera's timer so you don't touch the camera until the picture is complete.
- Use a low ISO setting. The lower the number, the less sensitive your camera's sensor will be to light. This will allow you to use longer shutter speeds and avoid noisy or grainy photos.
- "Use Raw image format," he says, but adds that he still uses JPEG to keep space on his computer. Raw image format will not compress the image in anyway, so you get the maximum quality possible. Also, you'll have more information in the file to work with if you need to correct exposure, white balance, or color temperature in post-production software, such as Photoshop, without a significant reduction in quality.
- "Compose and re-compose on every photograph and really look at a complete scene from all perspectives," he says. "High, low, in the water, side view, etc. Different views and patience will be of great benefit in getting the kind of photographs that will be wall ready!"
I wanted to make one final note. Many of my readers are backpackers who only carry a point-and-shoot camera. It will be very difficult to get amazing shots like Lance's with a point-and-shoot, but you can still get a similar effect.
Point-and-shoot cameras do not have aperture sizes between f/9 and f/20, so use the smallest setting possible, usually f/8 on point-and-shoots. The higher the number, the smaller the aperture size. This will reduce the amount of light entering your lens as much as possible.
Since polarizing filters are generally not available for point-and-shoot cameras, simple hold an SLR polarizer in front of your lens, or try using a sunglasses lens. Depending on the sunglasses this could distort the image, but it's worth a try, because as Lance says, a polarizing filter is a must.
Since polarizing filters are generally not available for point-and-shoot cameras, simple hold an SLR polarizer in front of your lens, or try using a sunglasses lens. Depending on the sunglasses this could distort the image, but it's worth a try, because as Lance says, a polarizing filter is a must.
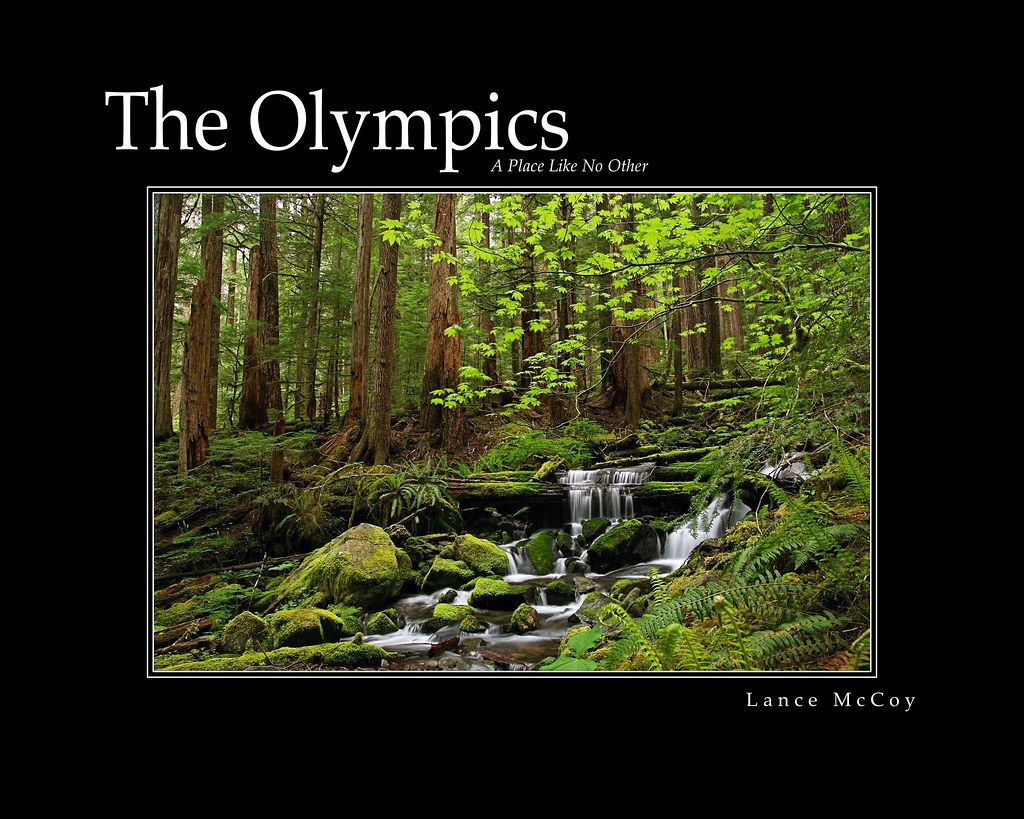 |
| (Lance's Book, The Olympics, A Place Like No Other) |
Lance, thanks you so much for your expert advice!
The water photographs in Lance's book, "The Olympics, A Place Like No Other" demonstrate the methods he describes above. You can find his book by following this link.
Now if you didn't have enough reasons to go explore your local forests, here is one more excuse. Get outdoors and take some photos! If you have put Lance's tips to good use and would like to have a photo featured on this blog post, please send them to ryangrayson@gmail.com!

A Backpacker's Life List by Ryan Grayson is licensed under a
Creative Commons Attribution-NonCommercial-NoDerivs 3.0 Unported License. -