

com-s.jpg "Going to the
Sun Road, Glacier")
com-s.jpg "Mount Rainier, From the Wonderland Trail")
com-s.jpg "The Rocks at Ryan Mountain, Joshua Tree")
com-s.jpg "Deer
at Mokowanis Lake, Glacier")


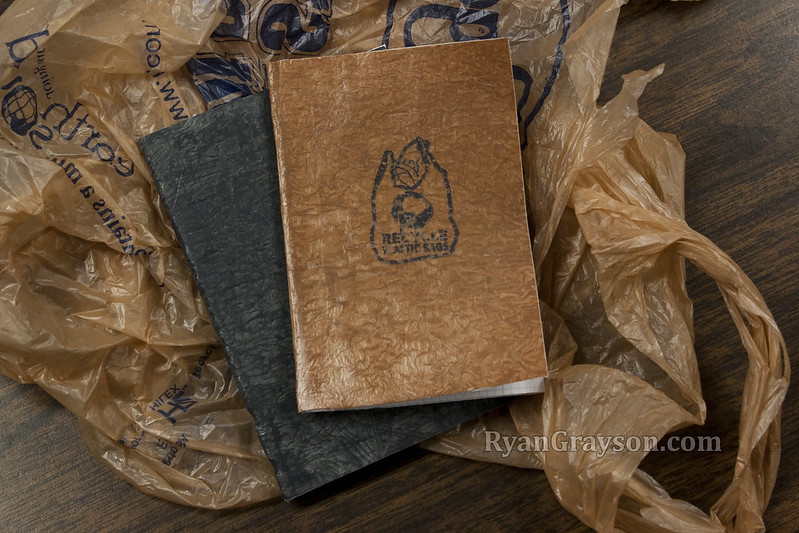
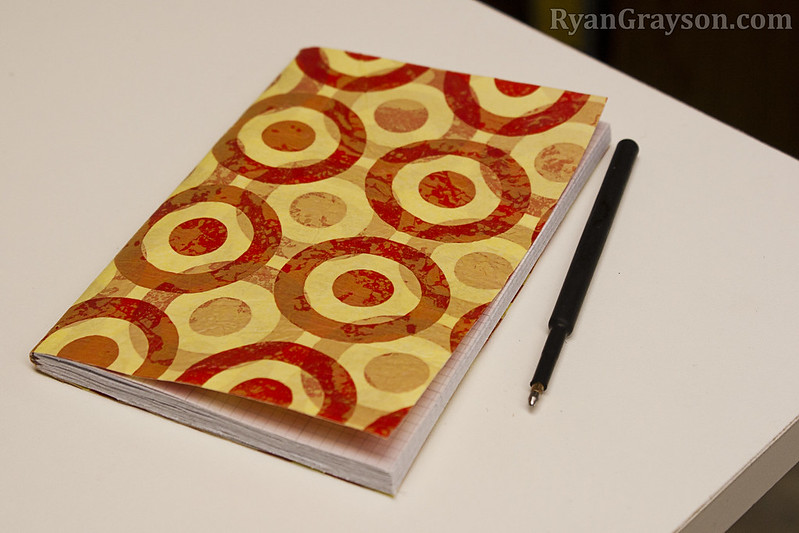
Two of my Trail Notebooks with Grocery Bag Covers
I have never backpacked without a journal in my pocket. Apart from loving to write, I do it because I have a very poor memory. I think of my notebook as a way of saving my thoughts to a hard drive.
Sometimes, I stop to write so often that I don't arrive at my planned destination before dark. I trip from time to time while trying to write while hiking, but who hasn't done that a couple of dozen times in their life?
Recently, I started making my own all-weather notebooks with Rite-in-the-Rain copier paper and fused grocery bags as covers. You'll find detail instructions below.
The notebooks can be made with regular copy paper for about 5¢ each, but one day on my Appalachian Trail thru-hike, I decided to look into waterproof paper. It had been raining all day. I had my journal in a ZipLoc bag in my pocket, but apparently I didn't seal it properly. The pages became water-logged and fragile. The ink bled and smeared. I looked at those disappearing memories like I was watching a photo album melt in a fire.
I ducked into an abandoned bus stop shelter to dry it off as best as I could, then I put it in a dry Ziploc and inside my pack. I vowed to switch to waterproof notebooks.

I could have just spent $5 to buy a Rite-in-the-Rain all-weather notebook, but I enjoy making my own. The only significant expense is buying waterproof paper, which will run about $35 for 200 sheets, or $1.41 each for 25 sixty-four page notebooks up to 4.25" - 5.5" in size.
If there's a good way to waterproof regular paper, while still being able to write on it, I haven't found it, so as of now I'll just have to buy it. If you'll never go through 25 notebooks, you can use the extra paper to print your own waterproof maps.
It's an easy project. And other than cost, a big advantage to making your own notebooks, is being able to print things on the pages, before you bind it. For example, you could print:
- Maps
- Trip itinerary
- Trail information
- Flight, bus, or train information
- Important phone numbers
- Trail food recipes you want to try out
- Instructions on how to tie a bowline knot to hang your new hammock
- A few Sudoku puzzles for when you get bored
For the covers, I fuse old plastic grocery bags into flat sheets of plastic. Any waterproof material would work, but grocery bags are plentiful and I had been looking for a project to use them on.
Alright, here's how I do it...
Before you get started, you'll need:
- All-Weather Paper (If you want it waterproof, otherwise cheap copier paper will work just fine.)
- Ruler
- Box Cutter or X-Acto Knife with a nice sharp blade
- Sewing Needle
- Thread
- Glue
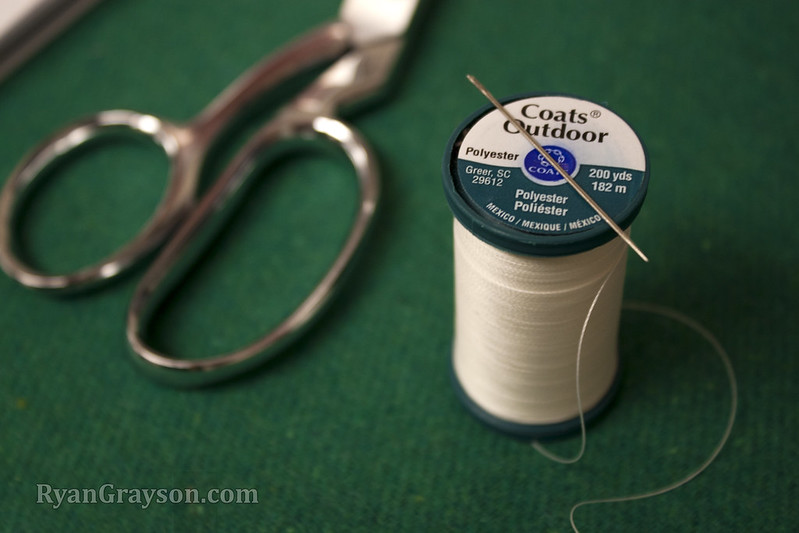
A thick upholstery needle would be great, but I just use the thickest sewing needle that came with my sewing kit and it works fine. I use heavy-duty polyester outdoor thread. For glue, I use a glue gun, but you can try it with whatever glue you have that is suitable for paper and plastic.
To make the cover out of plastic grocery bags, you'll need:
- Plastic Grocery Bags (Trash bag, Plastic Sheeting, or an old throw-away poncho also works)
- Scissors
- An Iron
- Wax Paper
STEP 1
Decide if you want to print anything on the pages first. If you're using standard Rite-in-the-Rain waterproof paper, you will need a laser printer or copier to do this, inkjets will not work. They do make waterproof paper for inkjets, but it's very expensive.
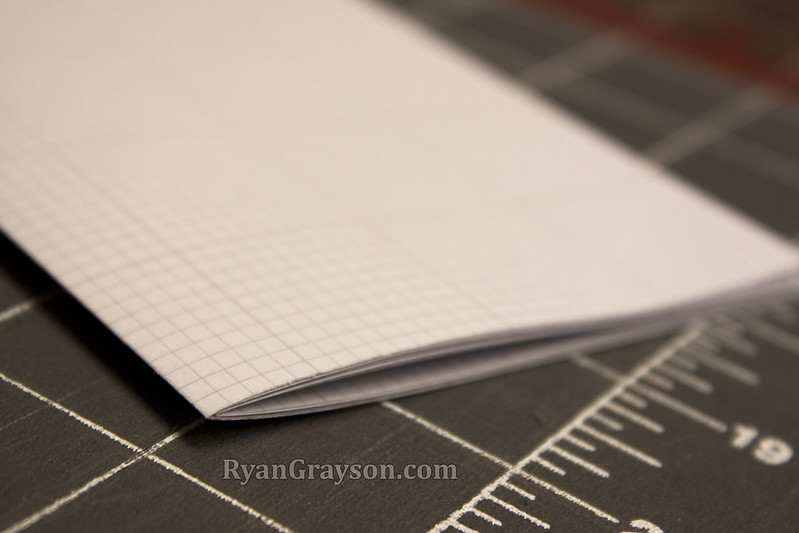
I tend to print graph paper lines on mine. For printable graph paper, check out printfreegraphpaper.com, or download my graph paper PDF here.

STEP 2
Decide how many pages you want and the dimensions. I like to make the pages about 1/4"-1/2" bigger than what the final notebook will be, because I trim the notebook to size at the end. That way, it has nice clean edges.
Eight pieces of copier paper will make this 64-page notebook.

STEP 3
Next, fold the pages in half, one at a time.
STEP 4
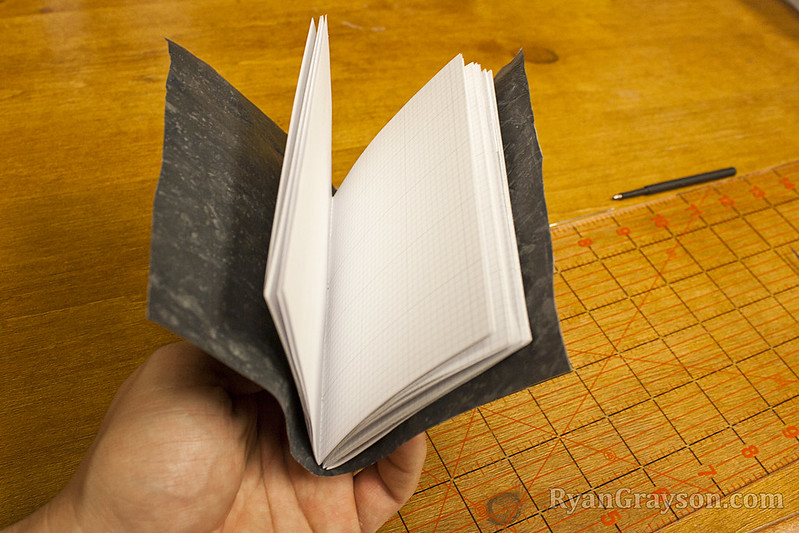
Take 5 or 6 pages and tuck them into each other, like a small book, to make what bookbinders call a "signature," or "folio". You'll be making 3 signatures for this 64-page notebook.
One reason for making three signatures rather than just folding all the paper together into one, is so the book will lay nice and flat when closed. The fold also helps prevent pages from tearing out of your notebook, unlike just gluing them all together at the spine.
STEP 5
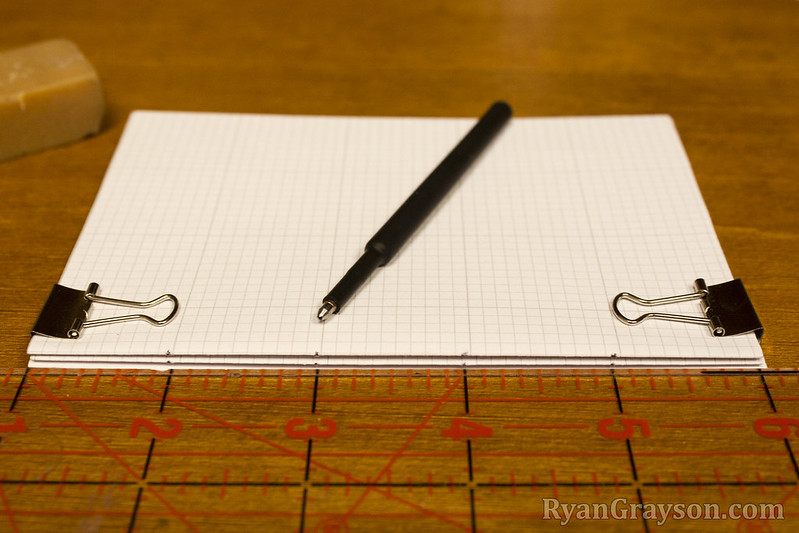
Stack the signatures and mark 4 holes equally spaced apart. The holes are where you'll be sewing them together. I used binder clips to hold them in place. If you're going to be trimming the sides at the end, be sure to measure from the center out, so your holes are still relatively centered after trimming.
STEP 6
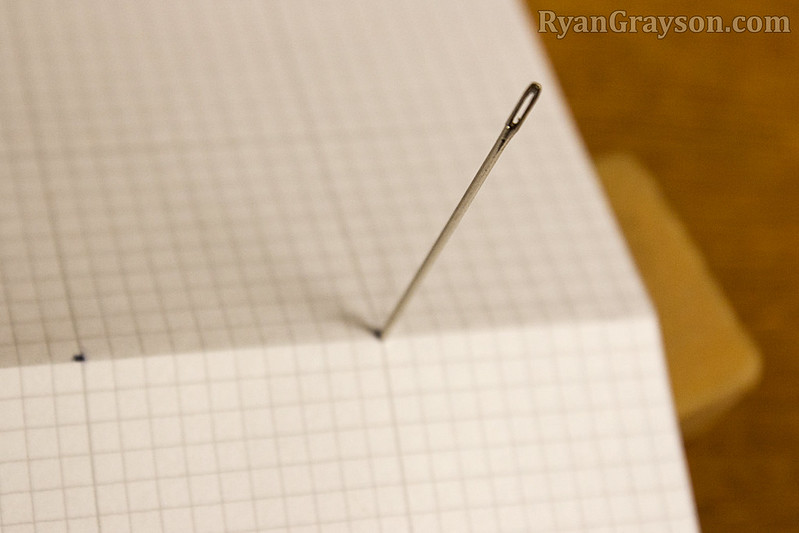
Poke holes into each mark along the fold in each signature. Put something soft underneath for the needle to go through. I use an eraser.
Now you're going to sew the pages together, like the diagram below. Use heavy duty thread. Polyester or wax-coated thread will be better for waterproofing. Also, wax-coated thread will prevent the thread from cutting into the paper.
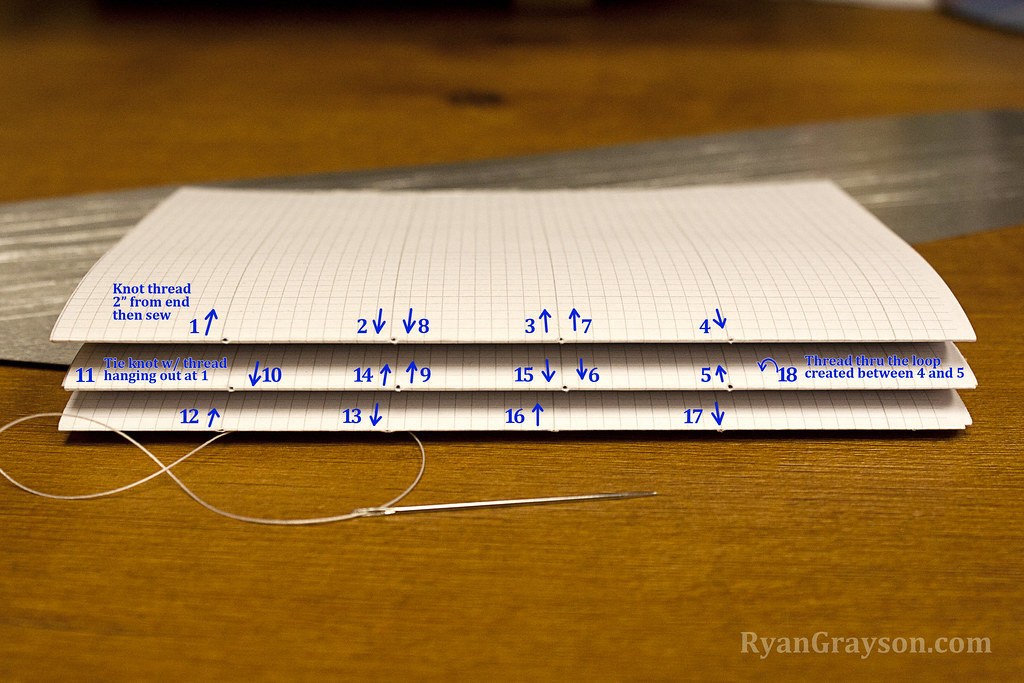
STEP 7
Click the image above to enlarge it. I promise this will all seem less complicated once you've done one.
Start by cutting off about 18" of thread and tie a knot about 2" inches from one of the ends, to stop the thread from going all the way through the first hole. Now thread your needle on the other end and sew into hole 1, then out 2, then into 3, and so on in the numbered order on the photo. Keep the string taut as you go, but not so tight that you tear the paper.
When you go out of hole 10, you're going to tie a knot with the loose piece of thread hanging out of hole 1, and then continue sewing into hole 12. When you get to the end, feed the thread coming out of hole 17 through the loop created between holes 4 and 5.
If you want more pages, and so have more signatures, just keep this same pattern going until you're done. When finished, trim off the excess thread and you'll have something that looks like this:

Put it aside for now, and next I'll show you how to make a cover by fusing together plastic grocery bags with an iron.
STEP 8
You certainly don't have to use plastic grocery bags to make a cover, but they are waterproof, free, and most of us have tons of them. Also, you'll have something unique that you'll want to show people, and you won't find anything else like it anywhere (that I know of).
A big reason I use plastic grocery bags is because they will otherwise become waste. Try to avoid taking extra bags at the store to make covers if you can, otherwise you're not really recycling anything. If you don't have any extra bags, I'm sure one of your neighbors will.
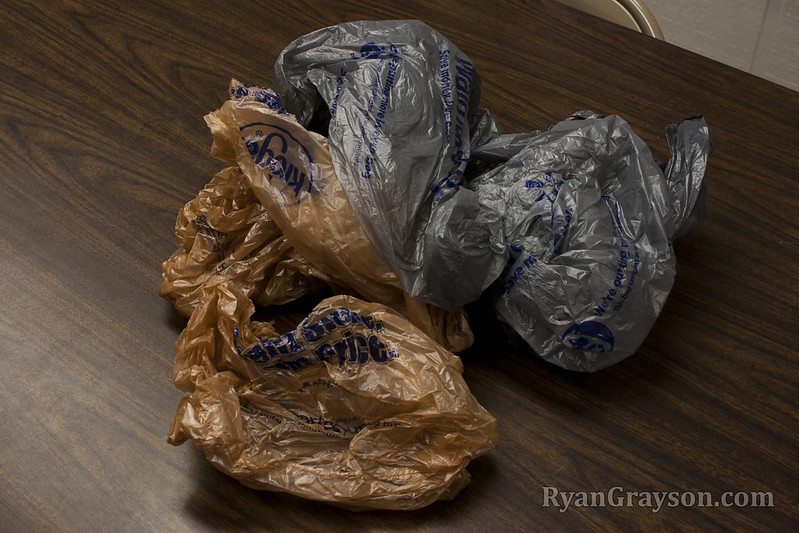
STEP 9
One standard size grocery bag is enough to make a cover. Just cut off the handles and the bottom of the bag, then fold it in half two times, so you have 8 layers total. As you can see in my photo above, I didn't want any store logos on my cover, so I cut out the blank sections of multiple bags instead, and made a stack of 8 layers.
If you have bags that have colors or designs that you like, even better, get creative. I made the cover on the left with a yellow Dollar General bag layered on top of a bag from Target.
If there is any ink on the bags, make sure that it is not on the top or bottom of the layers, or the heat from the iron will smear it and make a mess. Either turn them upside down, or put a layer without ink on top.
If you do mix bags from different stores, or use bags with lots of ink, they may not fuse as well, but it has worked well for me most times.
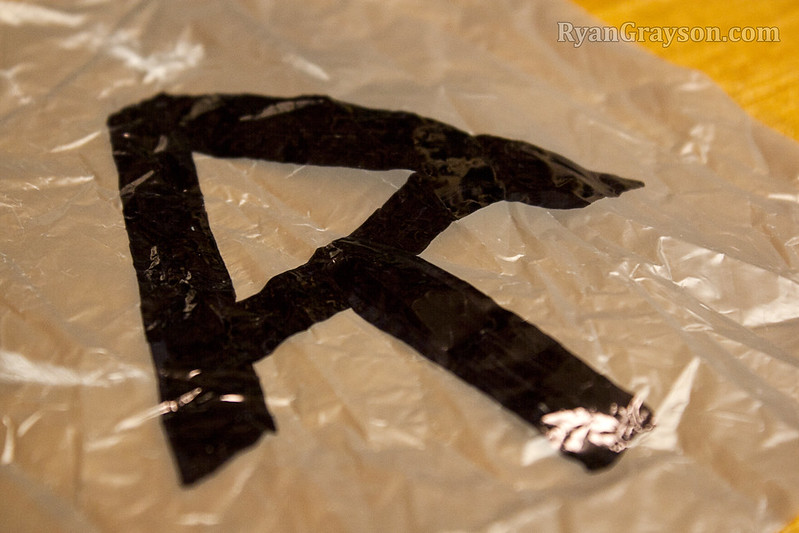
You can also use markers to draw your own patterns onto the bags. On this notebook cover, I decided to draw an Appalachian Trail logo. Just remember to place the ink upside down, or put one layer on top of it.

If you look at the image at the top of this post, you'll see that I used this same method on one of my journals to embed the "recycle plastic bags" logo that I found on one of the grocery bags. You could also write something like, "Volume 1" or "2013 Yosemite Trip," to keep multiple notebooks organized.

STEP 10
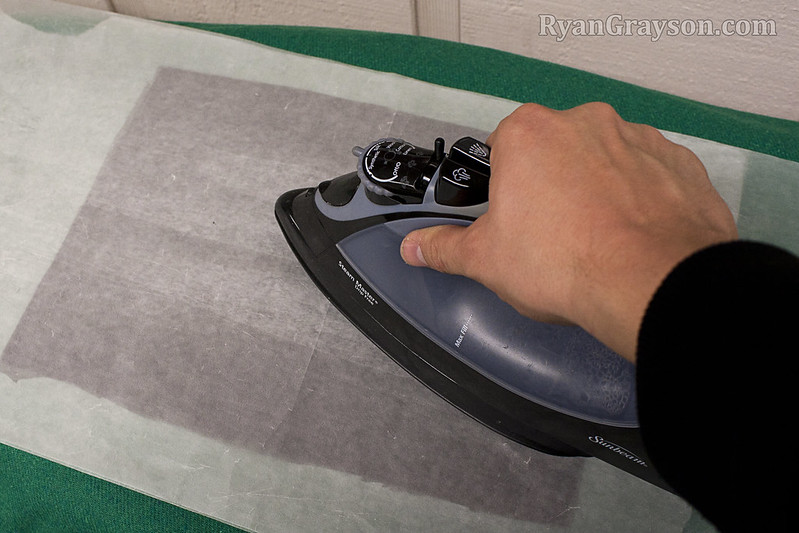
Place the plastic between two pieces of wax paper on an ironing board. As in the photo above, I trimmed the plastic, so it fits between the wax paper with enough overhang, so they don't come in contact with the iron.
Set your iron temperature to medium-high, or about the same setting for silks. All irons are different, though, so you may have to adjust if it's not hot enough. It doesn't have to be perfect, as you'll see, but if it's not hot enough, it may take a long time to fuse the plastic together. If it's too hot it could melt or shrivel up the plastic too much.
STEP 11
When the iron is hot, iron the bags while maintaining a constant slow motion and applying some pressure. I start from one of the edges and work my way to the opposite side, to prevent air bubbles. The wax paper will stick to the iron at first, but it will get easier after a few passes. Do this for about 30-60 seconds, and then flip it all over to iron the other side. When you're done, peel away the wax paper like a giant Fruit Roll Up.

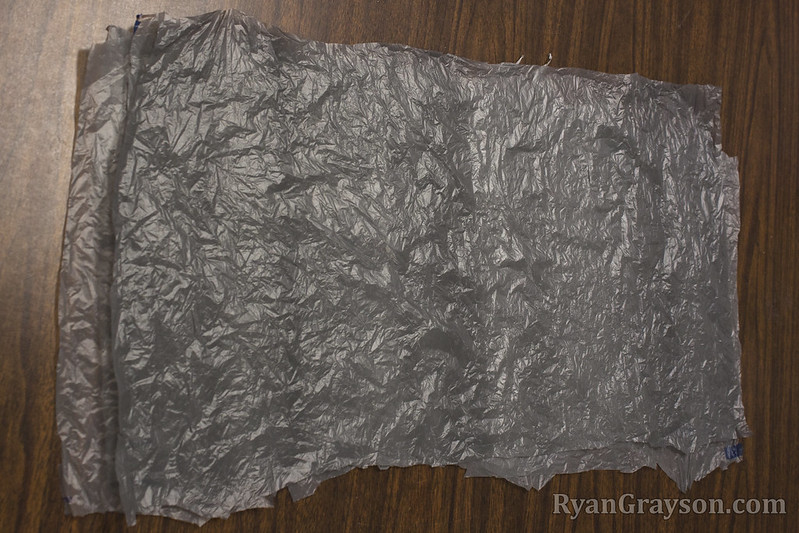
STEP 12
If all goes well, what you end up with will look something like this. Rub it between your fingers to make sure the layers are all sticking together. If not, iron it again. If it's not sticking well, then the iron may not be hot enough.

STEP 13
So now you have a sheet of plastic to use as a cover. Get the notebook you sewed together and your glue. I prefer using a glue gun, but if you don't have one, most glues suitable for paper and plastic will work.
If longevity or archiving is important to you, use an acid-free glue.
Bend the plastic where the spine of the notebook will go. It's okay if the plastic is bigger than the pages, cause we're going to trim it all up at the end anyway.
STEP 14
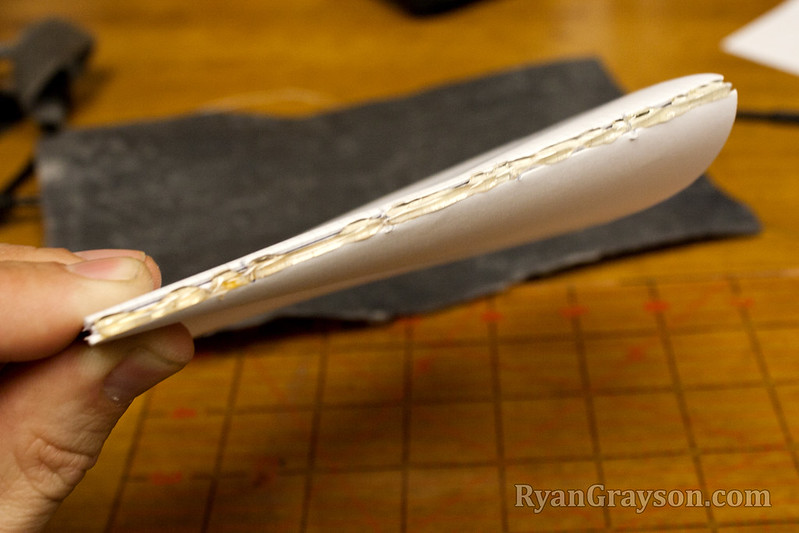
Run a line of glue along the spine of the notebook pages and stick it into the bend of the plastic, like the picture below. Note: You want to put hot glue on the paper first, and not into the fold of the plastic first. The glue comes out too hot and can cause the plastic to shrink.

STEP 15
Now using a ruler and box cutter or x-acto knife, trim off the three sides. I do this at the end, so it will have perfect edges, and at this point the cover won't need to be heated anymore, and so, won't shrink anymore.
STEP 16
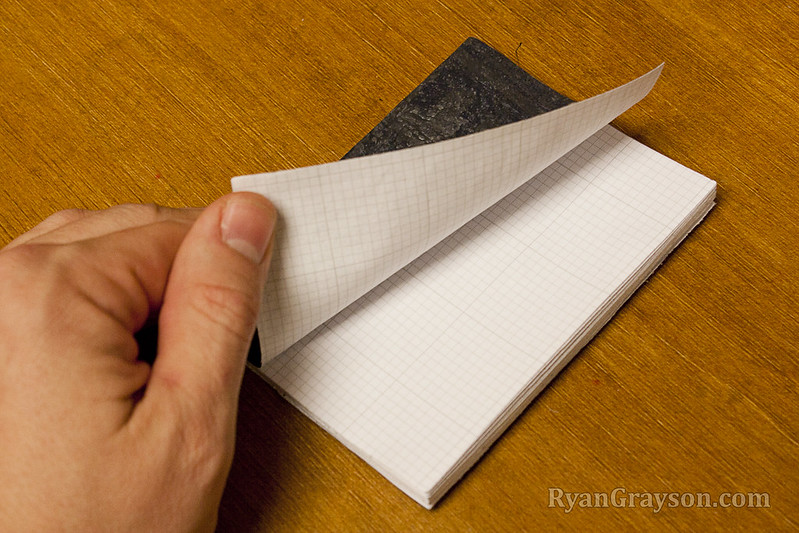
This step is optional, but I like to glue the first and last page to the cover itself. It gives the cover more rigidity and prevents the cover from ever tearing off. Place a heavy book on top of it while the glue dries to prevent curling. You can use pieces of wax paper on the outside and inside of your covers to keep glue from getting on any of the pages or the heavy book.
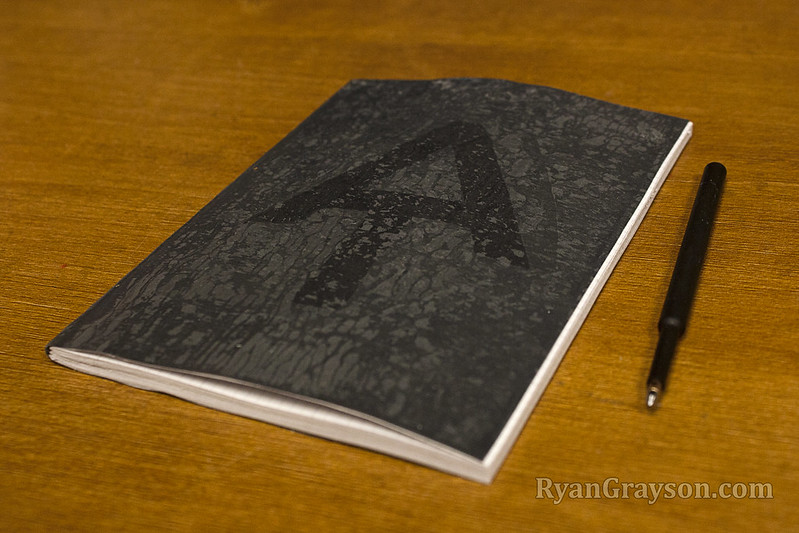
And here is the final product! It sounds more complicated than it is. Once you get the hang of it, you can make them pretty quickly.
Other Tips
• The fused plastic grocery bags can be sew together on a sewing machine to make reusable shopping bags, wallets, clothes, or whatever. To give you an example, I sewed pockets in the notebook on the right, to store a credit card and ID. Also, the paper can be taken out so the cover can be reused.

• You don't have to use grocery bags. Trash bags fuse together well also, and have a fake black leather look to them when done. You can also fuse trash compactor bags or plastic sheeting with this method to make custom-size plastic bags for pack liners or waterproof food bags, but I'll talk more about that later.
